In the final installment in our series on ProjectWise Managed Workspaces, we will discuss how managed workspaces impact the use of MicroStation and how you can modify your personal workspace using the configuration tools available to you in MicroStation and ProjectWise.
When using managed workspaces in ProjectWise, the use will notice only a few changes to the MicroStation interface.
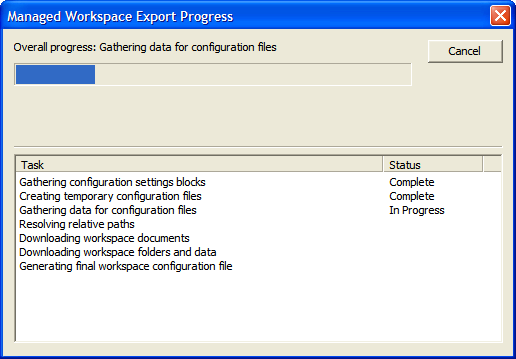
Managed Workspace Export Dialog
The first time a file is opened that uses a managed workspace, the Managed Workspace Export Progress dialog will appear showing the progress of workspace files being copied out of ProjectWise to the user’s working folder. The dialog will only appear when it is necessary to add new files or update existing files in the user’s local cache of workspace files.

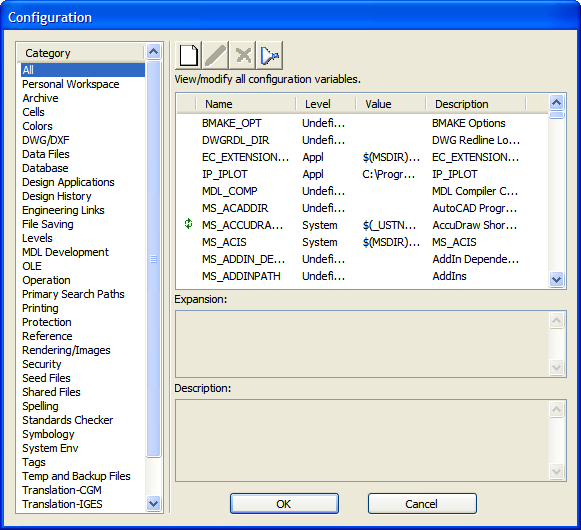
Workspace Configuration Dialog
The Workspace Configuration dialog box will also be slightly changed in order to show the configuration blocks and allow for the editing of configuration block variables.
Opening the Workspace Configuration Dialog
1. In MicroStation, go to Workspace > Configuration.
2. Workspace Configuration dialog box will open where you can now add and edit configuration variables using the same techniques you used to create variables for Configuration blocks.
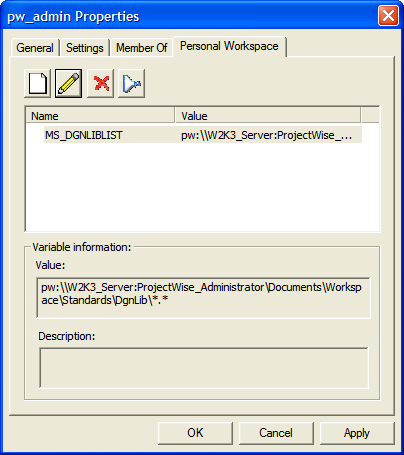
3. When you make changes to your Workspace Configuration in this dialog, you will create a Personal Workspace which is only accessible via your ProjectWise login.

Note: You can also access your Personal Workspace through the ProjectWise Explorer by going to Tools > Options > Personal Workspace.

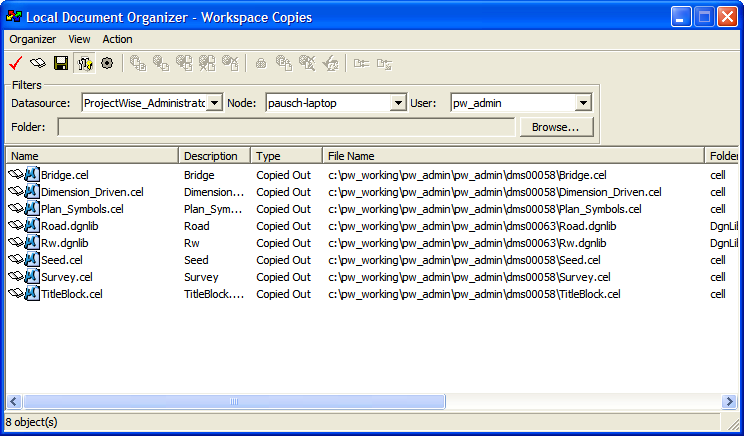
Local Document Organizer
The Local Document Organizer can now show workspace components in your working folder. Additionally, you can manage the workspace
Viewing Workspace Copies in the Local Document Organizer
1. In the ProjectWise Explorer, open the Local Document Organizer by going to Tools > Local Document Organizer.
2. In the Local Document Organizer, go to View > Workspace Copies.
3. You can now use commands such as Purge and Refresh Local Copy to manage your workspace files.

