Using the New Managed Workspace Tools in ProjectWise V8i – Part 2
The interface for creating and editing Managed Workspace Configuration blocks has been updated in ProjectWise V8i to provide the Administrator an interface very similar to a text editor. For anyone used to modifying their MicroStation workspace configuration files using Notepad or some other text editor, this will be a familiar interface. However, as you will see in our following examples, there are some limitations which prevent you from directly editing the configurations by keying in text, but these restrictions will also prevent syntax errors from being entered into your configurations.
Editing a Variable
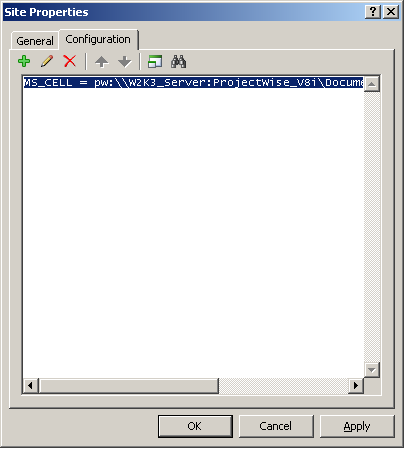
1. You can edit a variable by selecting the line it appears in and pressing the pencil icon. Double-clicking on the line will also allow you to edit it as seen in Figure 1.
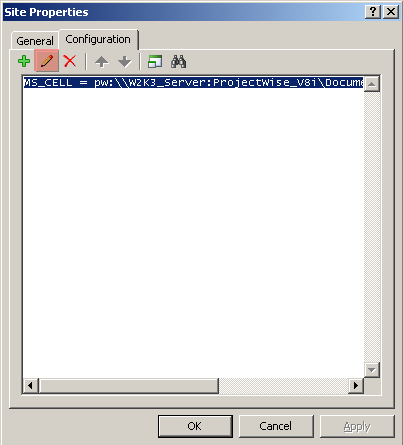
Figure 1
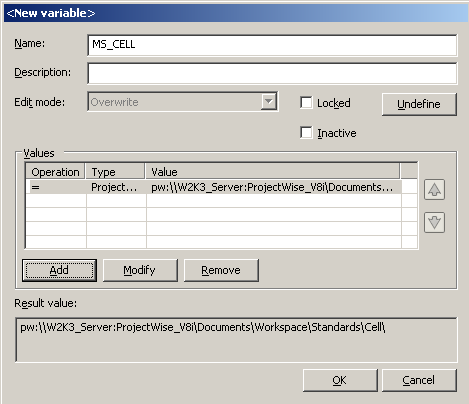
2. This opens up the same editor interface that we saw in ProjectWise XM.
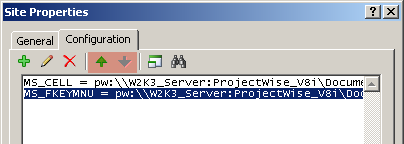
3. Variables can be re-ordered by using the Up and Down buttons in the Properties dialog box as seen in Figure 2.

Figure 2
Deleting Variables
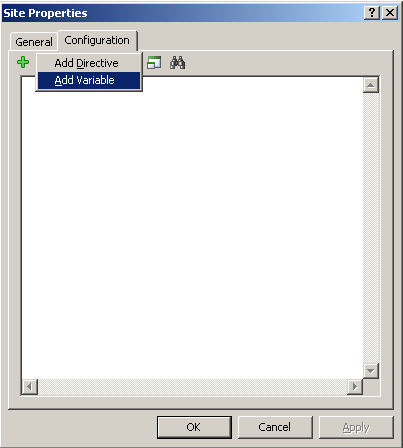
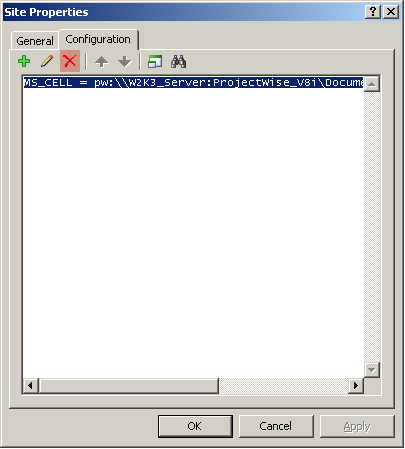
1. Deleting variables from configuration blocks is simply a matter of selecting the line the variable appears in and then clicking on the delete icon as shown below, pressing the delete key on your keyboard as seen in Figure 3.

Figure 3
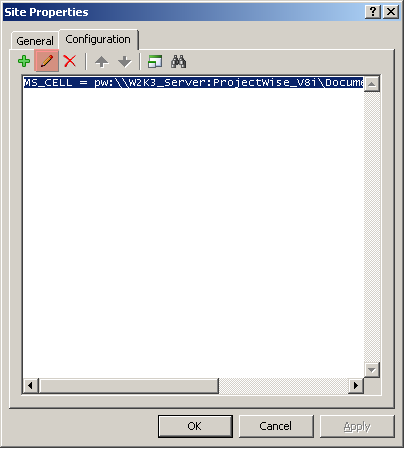
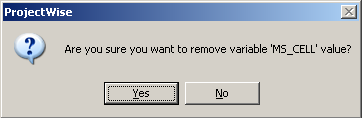
2. You will then be prompted if you want to remove the variable as seen in Figure 4 and select Yes to do so.
Figure 4
As you can see, the new configuration block properties dialog gives you some more editing options while retaining some of the basic operations that were first introduced in ProjectWise XM. A future article will discuss how you can apply directives such as if-then-else statements in your ProjectWise Managed Workspaces so they have the same flexibility as your legacy MicroStation Workspaces.